

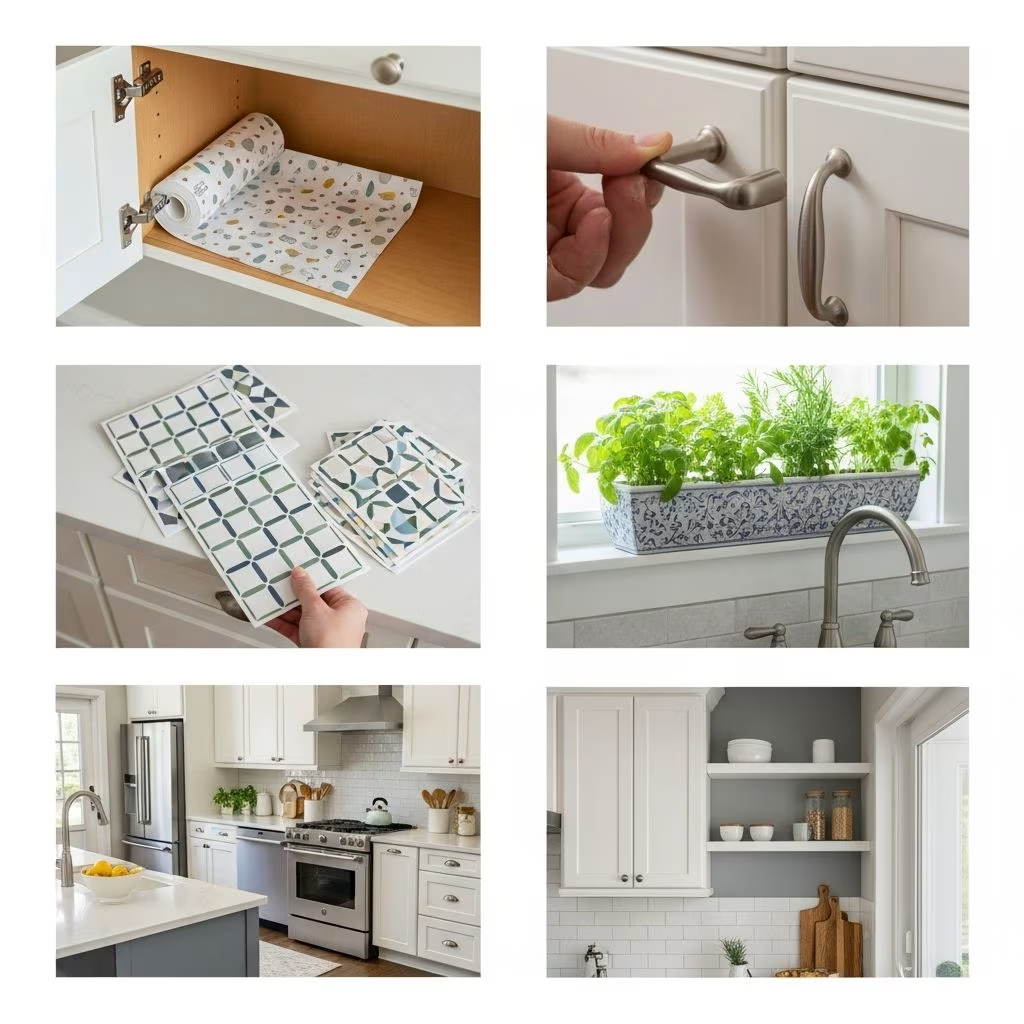
Your kitchen is the heart of the home, but a tired, outdated look can make it feel less inviting. Professional remodels cost thousands, but you don’t need a big budget to breathe new life into the space. As a savvy homeowner looking to save money, simple DIY projects can deliver stunning results. These five affordable kitchen upgrades require minimal tools, basic skills, and items from your local hardware store or dollar shop. Each one costs under $200 and can be completed in a weekend or less, transforming functionality and style while boosting your home’s value.
In this guide, we’ll walk through each upgrade step-by-step, including materials lists, tips for success, and real-world cost savings. Whether you’re prepping for a sale or just want a fresher space, these ideas prove you can achieve high-end vibes on a Penny Hoarder budget.
1. Paint Your Cabinets for a Fresh Look
Cabinets often dominate a kitchen’s appearance, and worn finishes or dated colors can make the whole room feel old. A fresh coat of paint is the most impactful DIY upgrade, instantly modernizing the space without replacement costs. This project revives wood cabinets, hides scratches, and lets you choose trendy colors like matte black, sage green, or crisp white.
Why it works: Paint covers imperfections and changes the room’s mood. Experts note that updated cabinets can increase perceived home value by up to 10%.
Materials needed (total cost: $50–$150):
- Degreaser or TSP cleaner ($5–$10)
- Sandpaper (220-grit, $5)
- Primer (deglosser type for cabinets, $15–$20)
- Paint (cabinet-specific, low-VOC, 1–2 quarts, $30–$60)
- Brushes, rollers, and painter’s tape ($10–$20)
- Drop cloths and gloves ($5)
Step-by-step guide:
- Remove doors and hardware; label them for reassembly.
- Clean thoroughly with degreaser to remove grease buildup.
- Sand lightly to create texture for paint adhesion.
- Apply primer; let dry 4–6 hours, then sand smooth.
- Paint 2–3 thin coats with a brush for edges and roller for flats; dry 24 hours between coats.
- Reinstall and enjoy your new kitchen!
Pro tip: Choose semi-gloss or satin for durability against splashes. Avoid latex house paint—opt for enamel formulas. Homeowners report this upgrade looking pro for years with proper prep.
Time: 2–3 days. Difficulty: Beginner to intermediate.
2. Update Cabinet Hardware for Instant Style
Swapping knobs and pulls is a quick win that costs pennies but yields designer results. Dated brass or chrome hardware screams ’80s, while modern matte black, brass, or leather-wrapped options elevate the look. This upgrade pairs perfectly with painted cabinets.
TV shows like ‘Unsellable Houses’ highlight hardware swaps as a top seller’s trick, aging spaces get youthful instantly.
Materials needed (total cost: $20–$100):
- New knobs/pulls (measure existing holes; buy extras, $1–$5 each)
- Screwdriver set
- Cleaning supplies for old hardware
Steps:
- Measure hole spacing (usually 3″ or 96mm) and count pieces.
- Shop sales at big-box stores for matching sets.
- Remove old hardware; clean cabinet surfaces.
- Install new pieces—most are direct swaps.
Choose mixed metals for eclectic charm or unify with one finish. This 1-hour project refreshes without tools or mess.
3. Refresh Countertops with Paint or Contact Paper
Laminate counters chip and stain over time, but replacement runs $2,000+. Paint or peel-and-stick covers mimic stone or wood affordably.
Options compared:
| Method | Cost | Durability | Time |
|---|---|---|---|
| Countertop paint kit | $40–$80 | Medium (2–5 years) | 1–2 days |
| Contact paper/shelf liner | $10–$30 | Low (1–2 years) | 2 hours |
| Epoxy pour-over | $100–$150 | High (5+ years) | 3–4 days |
For paint: Clean, sand, prime, apply base coat, then textured finish. Seal with polyurethane. Contact paper is renter-friendly—measure, cut, stick.
Results rival granite visuals at 1/10th cost.
4. Upgrade Lighting for Better Ambiance and Function
Poor lighting makes kitchens dim and unworkable. Swap fluorescents for LEDs under cabinets, pendants, or recessed cans.
Ideas:
- Under-cabinet strips ($20–$50) for task lighting.
- Pendant lights over islands ($30–$80 each).
- LED bulbs in existing fixtures ($5–$15).
Installation: Turn off power, replace sockets. Dimmers add control. Brighter, warmer light (2700K) enhances cooking and mood.
5. Add a Backsplash with Peel-and-Stick Tiles
Backsplashes protect walls and add personality. Real tile installs are messy; peel-and-stick vinyl or metal tiles adhere directly.
Materials ($30–$100): Tiles ($1–$3/sq ft), adhesive if needed, level, utility knife.
Steps:
- Clean and dry wall.
- Measure and cut tiles.
- Start from center, press firmly.
- Grout if required (optional for vinyl).
Styles: Subway, mosaic, or metallic. Waterproof and heat-resistant for real use.
Bonus Tips for Maximum Savings
Shop thrift stores for hardware, use coupons at home centers, and watch YouTube tutorials. Total for all five: under $500. These upgrades boost appeal for showings or daily joy.
Frequently Asked Questions (FAQs)
What is the cheapest kitchen upgrade?
Updating hardware or adding contact paper to counters—under $50 with huge impact.
Do painted cabinets last?
Yes, 5–10 years with proper prep and quality paint; avoid heavy grease areas without sealing.
Are peel-and-stick backsplashes durable?
They withstand splashes and heat like real tile if installed on clean surfaces.
Can renters do these upgrades?
Yes—paint is reversible, contact paper peels off, hardware reinstalls easily.
How much value do these add?
Buyers notice updates; simple refreshes can yield 70% ROI per home improvement studies.
References
- Energy Star Guide to Kitchen Lighting Efficiency — U.S. Department of Energy. 2024-06-15. https://www.energy.gov/energysaver/kitchen-lighting
- Home Remodeling Impact Report — National Association of Realtors. 2025-03-10. https://www.nar.realtor/research-and-statistics/research-reports/remodeling-impact
- DIY Countertop Refinishing Standards — American Society of Home Inspectors. 2023-11-20. https://www.ashi.org/homeowners/diy-reports/
- Cabinet Hardware Replacement Guidelines — International Builders’ Show. 2024-02-05. https://www.buildersshow.com/standards
- Energy-Efficient Kitchen Upgrades — Consumer Product Safety Commission. 2025-01-08. https://www.cpsc.gov/safety-education/home/kitchen-safety
This article is general information, not personal financial advice. Consider your own situation, or speak with a licensed adviser, before acting on it.